Most mid-round rangefinder failures are easier to prevent than to diagnose on the course. A short routine—charge or check the battery, clean the optics correctly, inspect the ports and seals, and verify operation before the first tee—does more for reliability than an unverified “rounds per charge” promise.
Battery life varies with device type, screen brightness, GPS use, temperature, age, and frequency of measurement. Treat any runtime estimate as a planning input, not a guarantee.
Know your power system
Sealed USB-C rechargeable battery
This is convenient for golfers who already charge devices weekly. The failure mode is simple: if the internal battery is empty, the device usually needs a cable and time. Avoid storing it fully discharged for long periods, and use the charger guidance in the current manual.
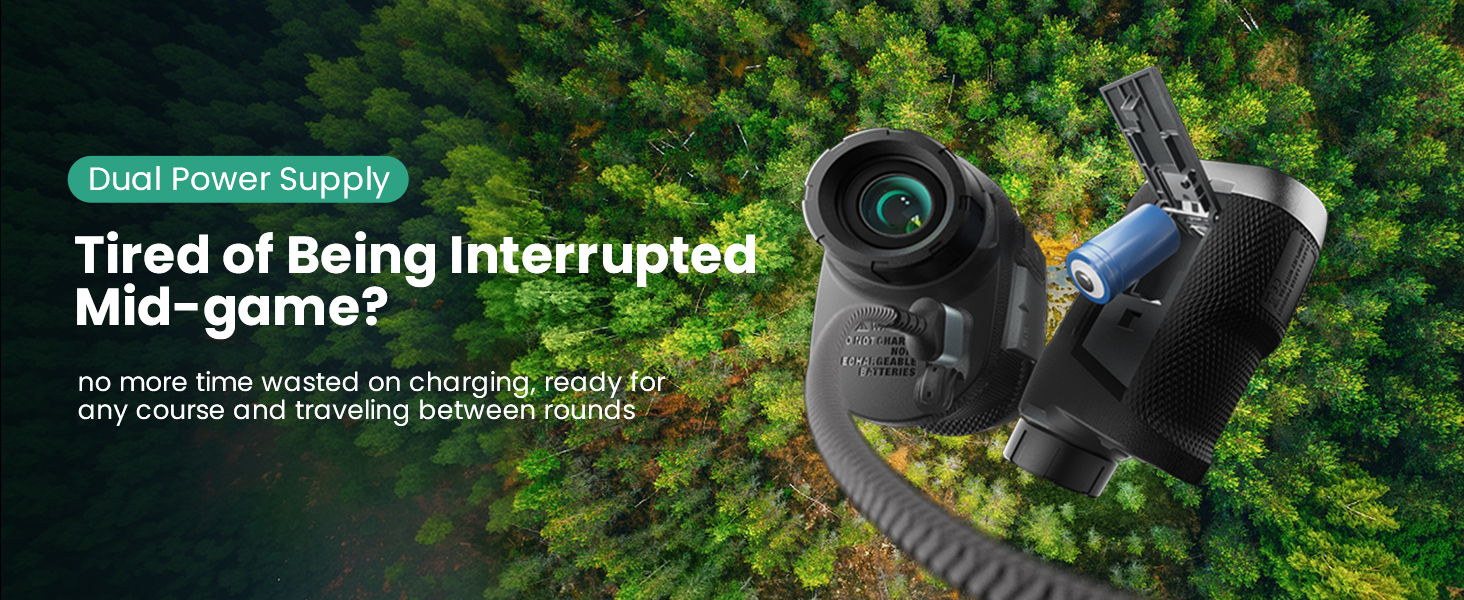
Replaceable CR2 battery
A replaceable cell is easy to carry as a spare and fast to swap. Store spares in their packaging so the terminals cannot contact metal objects. Do not mix old and new cells or recharge a cell that is not labelled rechargeable.
Rechargeable CR2 or spare-cell setup
Some products use a rechargeable CR2-format battery with a spare-power routine. Follow the exact product instructions because “CR2” describes a form factor, not a universal charging rule.
A five-minute pre-round routine
Step 1: Check power
Turn the device on at home or in the parking lot. Confirm the battery indicator, take several readings, and pack the correct cable or approved spare cell. Do not discover the battery type on the first tee.
Step 2: Clean the optics
Blow loose grit away before wiping. Use a clean microfiber cloth and, if needed, a lens-safe fluid. Avoid paper towels, shirt fabric carrying sunscreen, and household glass cleaner.
Step 3: Inspect the body
Check the charging-port cover, battery door, buttons, slope control, and visible seals. Water resistance does not mean every open port or damaged seal is protected.
Step 4: Verify a known distance
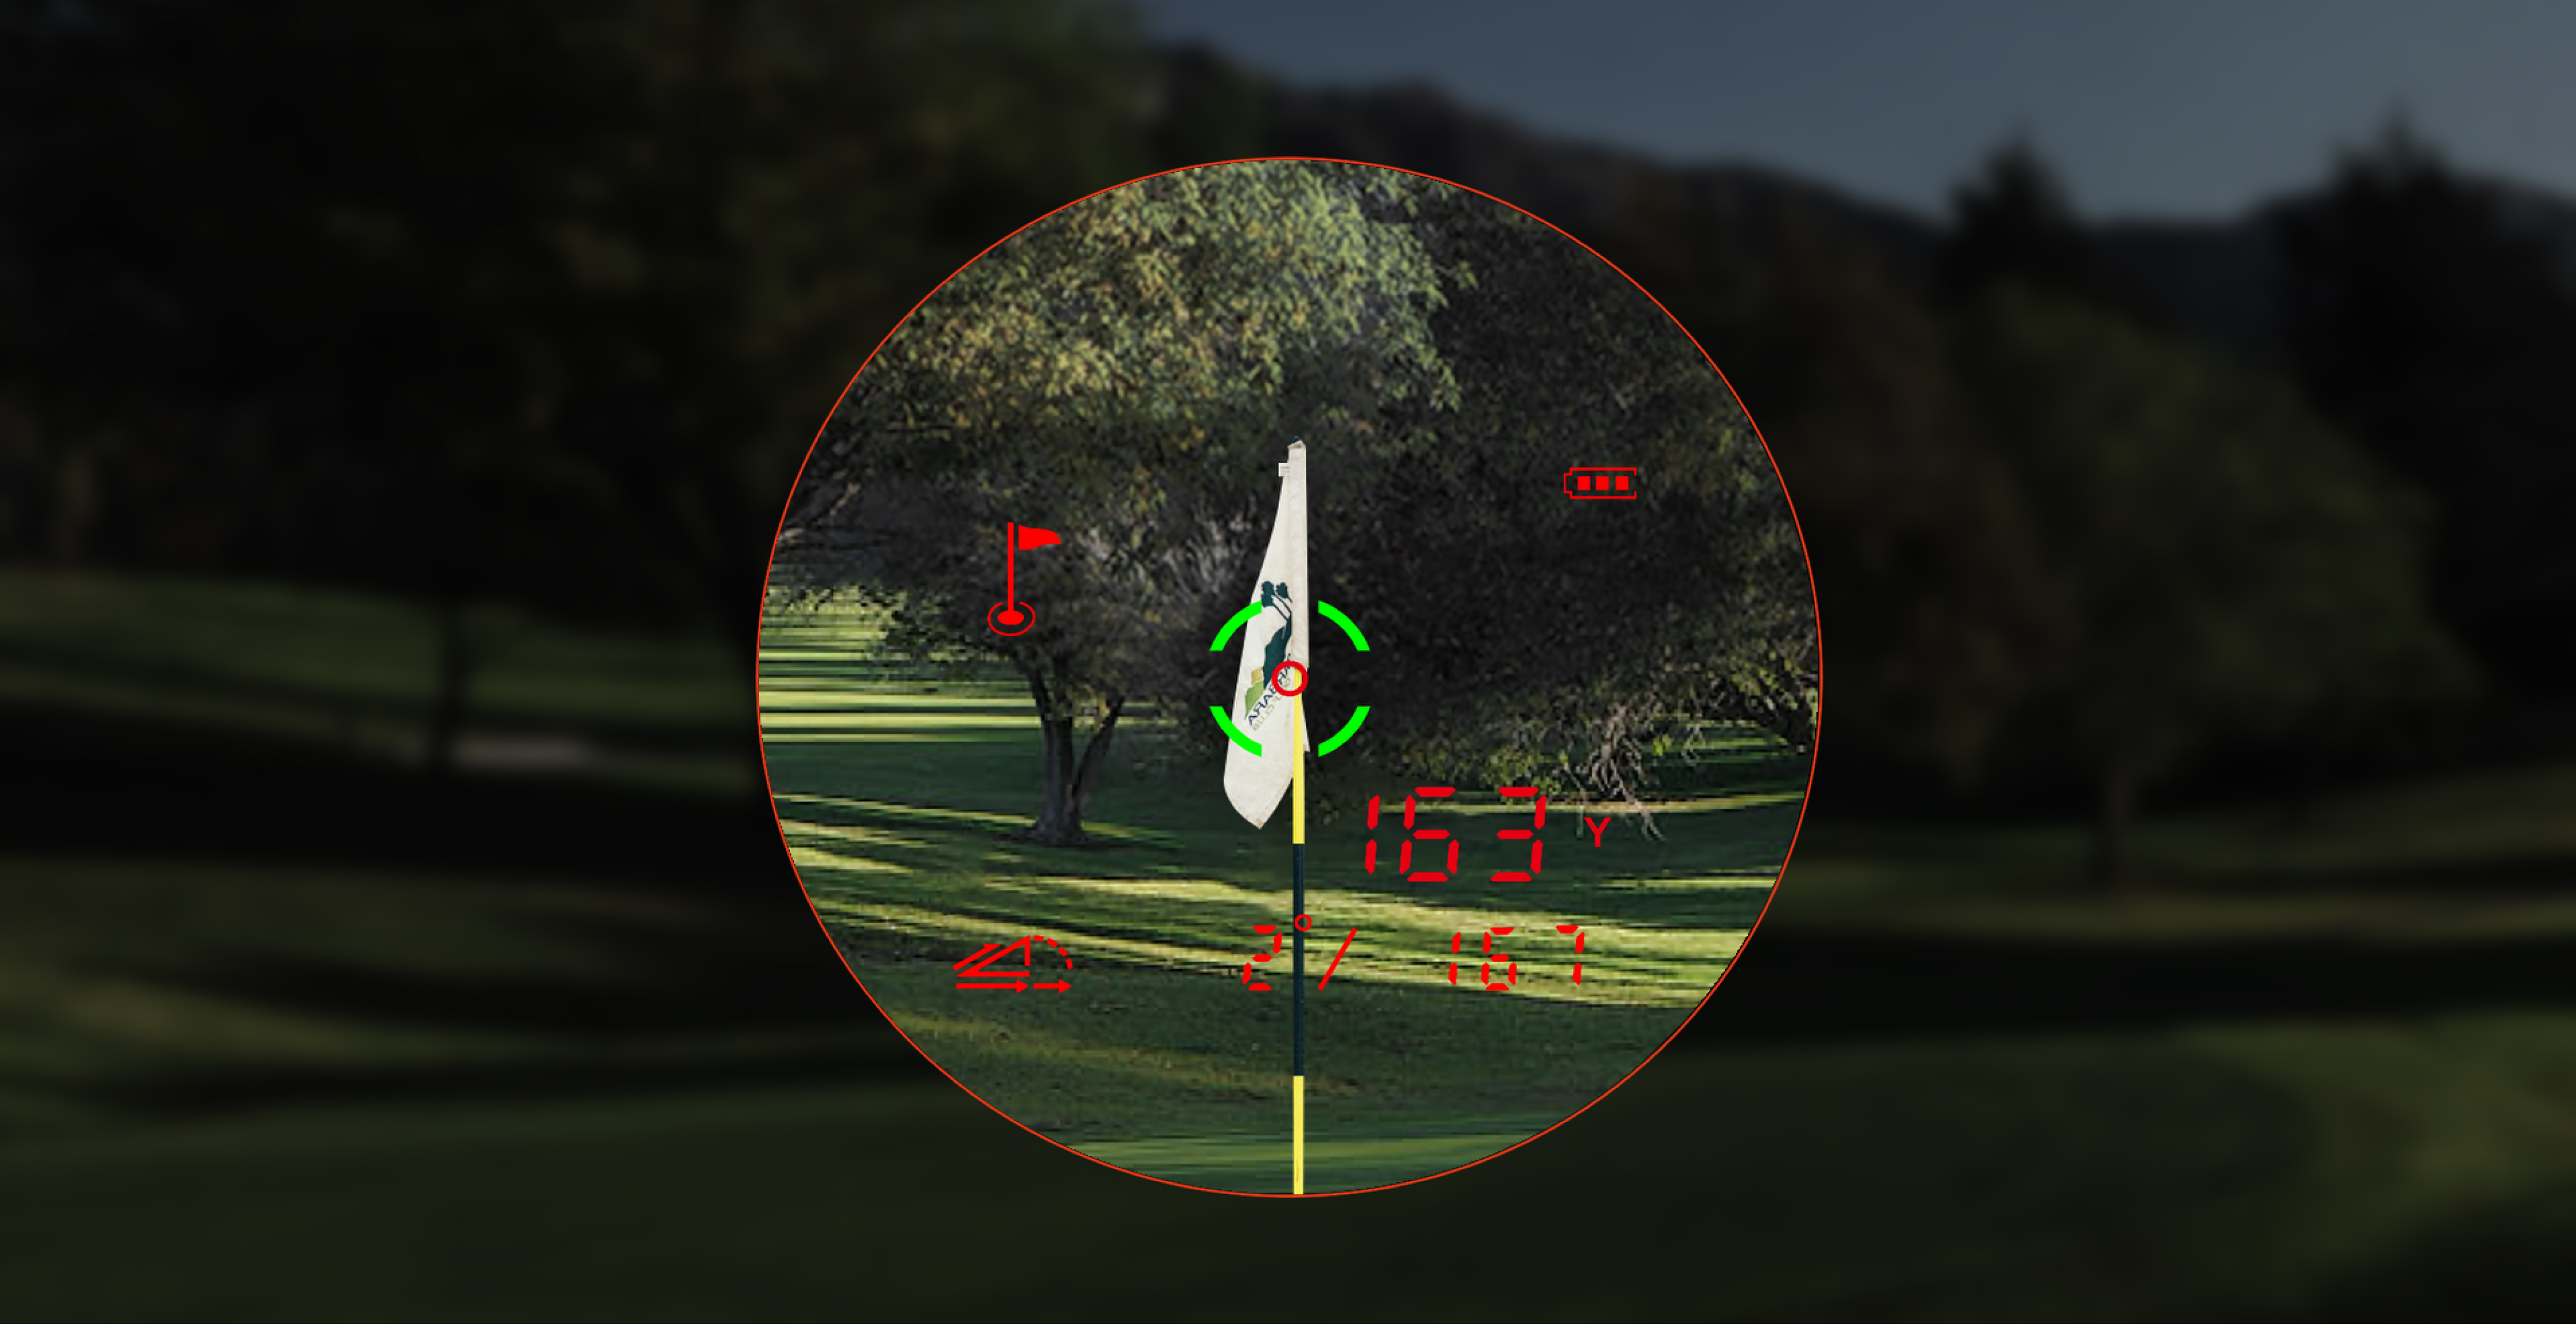
Measure a clubhouse sign, range marker, or other familiar object. One stable verification is more useful than trusting a device that has been stored for months.
Step 5: Pack it deliberately
Use a case and keep the device away from loose tees, sand, and metal objects. A cart magnet is convenient, but remove the rangefinder before driving away after the round.
Current product examples and independent evidence

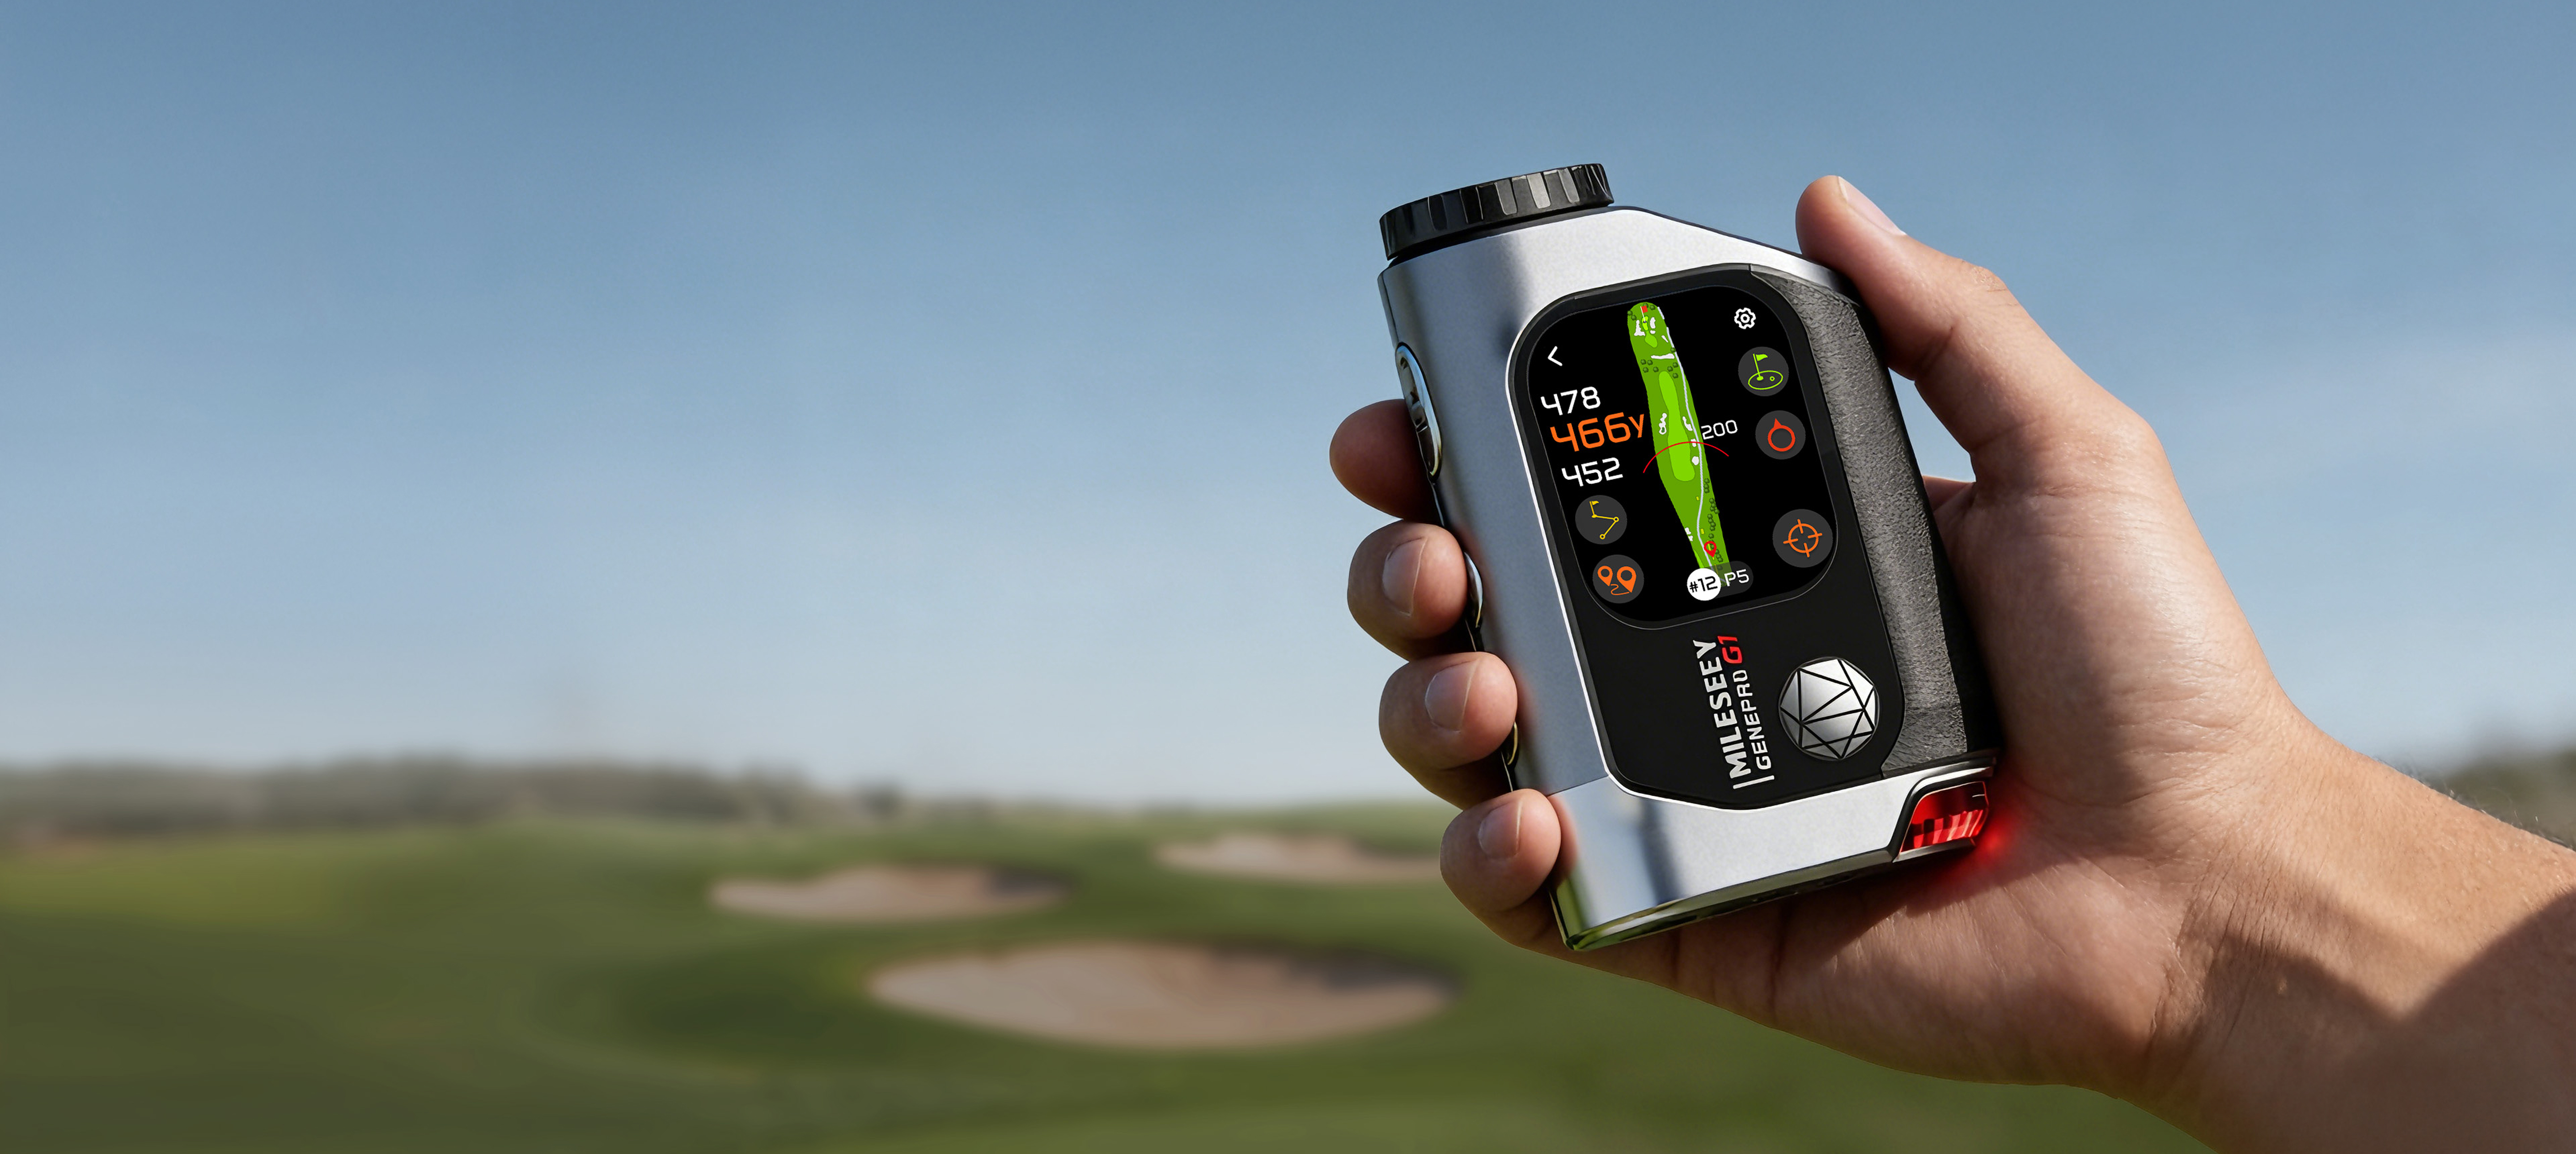
The MILESEEY GenePro G1 uses a 1,000 mAh USB-C rechargeable battery according to the current official specification table. Its combined laser, GPS, and AMOLED display create a different power profile from a basic laser. Plugged In Golf praised the all-in-one functionality and reported quick, accurate operation, while Golf Monthly noted interface lag and automatic-hole-change issues. For owners, the practical lesson is to charge the device as a connected GPS tool and verify the active hole, not maintain it like a simple occasional-use laser.

The MILESEEY PF260 Tour uses a CR2-based setup in the current product database. National Club Golfer highlighted the rechargeable power arrangement and straightforward value in its five-star review. Golf Guy Reviews praised the overall feature set but observed reduced performance in dense fog. Battery readiness cannot compensate for poor visibility, so unstable optical conditions remain a boundary.
For replacement charging and carrying items, use the golf accessories collection only when the accessory is explicitly compatible with your model.
Troubleshooting a device that will not turn on
Follow the low-risk sequence
- Confirm the power button procedure in the manual.
- Charge with the specified cable and power source, or install an approved fresh cell.
- Inspect the port or battery contacts for moisture and debris without using metal tools.
- Allow a wet device to dry according to the manual; do not apply direct heat.
- Retry with slope and other switches in their normal position.
- Record the model, serial number, symptoms, and attempted steps before contacting support.
Stop if the battery swells, leaks, becomes unusually hot, or the housing is damaged. Do not open a sealed battery compartment or attempt an unofficial repair.
Storage between rounds and seasons
Keep the device dry, protected from extreme heat, and out of a car for long periods. For rechargeable devices, avoid long-term storage at zero charge. For replaceable-cell models, follow the manual on whether the battery should be removed during extended storage.
When routine care is not enough
Condensation inside the optics, repeated shutdowns with a known-good battery, damaged seals, charging heat, or inconsistent readings after a verified setup require support—not another cleaning attempt.
Bottom line
Reliable rangefinder battery life comes from matching the power system to your routine and checking the device before the round. Charge or pack the correct spare, clean the lens safely, inspect seals and ports, verify one known distance, and stop using any damaged battery. That routine cannot guarantee a failure-free season, but it removes avoidable surprises without relying on invented lifetime claims.